


And you can make it too! My grandmother taught me how to appliqué, and the steps are really simple once you know how.
Start with a blank tote bag. I got this one from CSN.

Print out the letter you want in the size you want. You can use any font and any size. Here's the rub - make sure you mirror the image! You either need to flip it before you print it, or trace it through the backside of the paper. This is the most important thing to remember!
You'll trace the letter (backwards!) onto Heat'n Bond Lite Iron-on Adhesive. I always get this at Joann's when I have a 40% off coupon. One roll will last you a very long time.
Lay the traced image onto the wrong side of your fabric. This is the second most important thing to remember!

Sorry the picture is blurry - can't figure out why!
Use your iron according to the settings on the Heat'n Bond to attach the paper to the fabric. Cut around your letter.
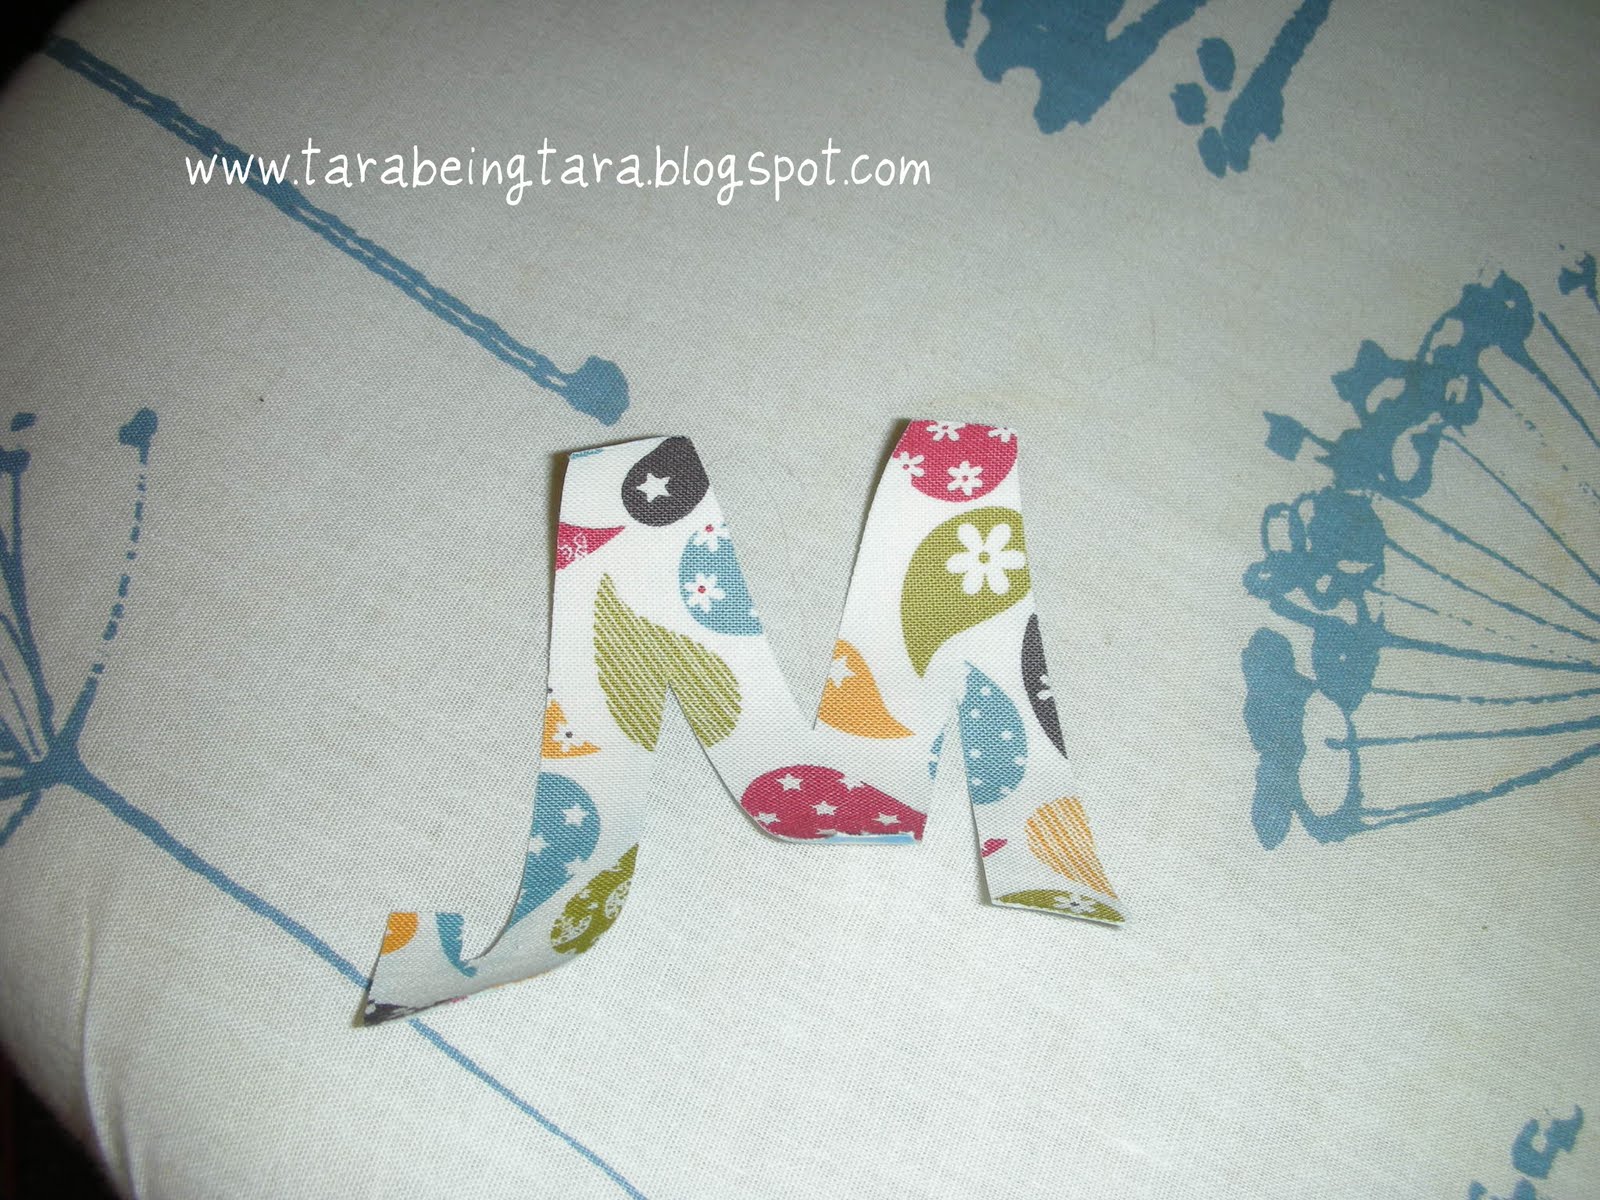
This is when you'll want to cut out as closely to the shape as possible. When you're working with shapes, you don't have to be totally perfect - just make it as perfect as you feel like you need to.
Peel off the backing from the letter and position it onto your tote bag.

You can move it around until you're happy with it; it won't stick until you iron it.

Iron the shape onto your tote bag, again using the settings recommended by the Heat'n Bond directions. The letter/shape will be STUCK - there's no going back at this point!
Now is when you start to sew. A few things to remember:
- Thread: You can use any color thread you want. If you use one that coordinates with the fabric, it will be less noticeable. Black will make the appliqué really stand out.
- You want to use a blanket stitch. This is the stitch on your machine that takes two stitches forward and then one to the side.

You'll want the stitches coming forward to fall just in line with the edge of the shape. Your "sideways" stitches will help secure the shape. It isn't really going anywhere because of the Heat'n Bond, but this way none of your edges will come loose.
Blanket stitch until you come to a corner. These may seem complicated, but they're super simple. You can go as slow as you want to (the slower you go, the nicer your stitches will look). When you come to a corner, hand roll the needed until it is positioned needle down at the very corner. Lift up the foot and turn your fabric. Reset the blanket stitch so it begins from the "two stitches forward" spot again, giving you maximum control over your stitches. Continue until you reach the next corner.
Curves are the same way - just keep the needle down and lift the foot up to position your fabric to where you need it to be.
When you're finished. you'll end at the same place you began. When you pull your fabric off the machine, the back will look like this:

You will also have two strings hanging similarly on the front. Using a pin or your finger nail, lightly tug the thread until the threads from the front pull through to the back. When you find the right spot, they'll come through easily. Split them two and two (doesn't matter which ones) and tie them together to secure the stitches. Note: If you accidentally sew over your threads or can only get one through from front to back, it won't really matter. Just tie what you can.
And voila! A beautiful appliquéd shape to brighten up an otherwise plain tote bag!


As a side note, the uses for appliqué are truly endless.You can appliqué onto dish towels (a great first project), t-shirts, quilt squares - you name it! This is my favorite appliqué project I've done so far:

All of the animals are appliquéd - and while it was time consuming, it wasn't difficult! You just end up appliquéing each shape in layers until the entire shape is finished.
Good luck - happy sewing!
I'm linking up to all of my favorite link parties this week (see sidebar) and also submitting this to the CSI "Fabric & Sewing" Challenge!

I'm linking up to all of my favorite link parties this week (see sidebar) and also submitting this to the CSI "Fabric & Sewing" Challenge!


Cute personalized bag! Would make great gifts for all the girls in my life.
ReplyDeleteVery very cute! Thanks for the how-to!
ReplyDeleteThanks for linking up!
Is the "M" for mom or someone else?? Love you!
ReplyDeleteAdorable!
ReplyDeleteJeanine
What a great tutorial and very easy to understand. You should be a teacher. The bag looks great. Love you. Gramma
ReplyDeleteHaaaaaaaa~ It seems not very difficult to make a featured canvas tote like this.I can't help waiting to have a try!! thanks so much for your tutorial~~
ReplyDeleteI love that little quilt you made! I think you've found a project that even I can make - hooray :)
ReplyDeleteLamb’s Most Recent Post: Come Link Up! 200th Follower Link Party - You’re Invited!
Found you on Simply Designing's link party! Love this bag, very cute & simple!
ReplyDeleteSo cute, this project makes me wish that I knew how to sew. Thanks for linking up to Sister Sister Sunday!
ReplyDeleteSEW SEW CUTE! I love this adorable bag! Thanks for linking up to Hoo's got talent!
ReplyDeleteJust came across your awesome tutorial. I have all the supplies and plan on using your technique. You took the FEAR out of the project. Thanks so much for sharing!!!
ReplyDeleteRobbin
Thanks for the nice applique tutorial. Do you have one (tutorial or a link) for the pretty applique baby quilt pictured on that same tutorial? I have a grandbaby on the way and would like to make something similiar for him/her.
ReplyDeleteThanks,
P. Frederick
hellopf@yahoo.com