Showing posts with label recipe. Show all posts

Friday, June 8, 2012

Creamy tomato pasta

Last night I was having one of those nights. The kind of night where I was in a funk. I hate those nights. I was torn between acknowledging my feelings and allowing myself to just feel off for awhile, and also mad at myself for dwelling on problems that are so minor in the grand scheme of life. Like... so minor.

In an attempt to shake my funk, I decided to make some comfort food. You heard me right - I made it. Like, I cooked it myself. Zac didn't even help. Are you impressed?

He was actually at a Cincinnati Reds game with his dad and brother. Him being gone usually goes something like this:

Zac: "Tomorrow I'm going to go to a Reds game with my dad and brother."
Me: "Cool! That will be fun for you guys."
Fast forward 24 hours.
Me: "I am super starving and have no idea what to make for dinner because I never cook."

See what I mean about my minor problems? Embarrassingly minor.

Anyway... I headed over to trusty Pinterest to look for a comfort foody recipe to make. Enter creamy tomato pasta. Nothing too fancy, but it did involve at least a little bit of effort!


Creamy Tomato Pasta
Recipe from: Kitchen Trial and Error

Alfredo sauce adapted from cook's illustrated
30 minutes, serves 4

Tomato Sauce:
1 1/2 pounds fresh tomatoes (about 9 medium)
1 small onion, finely diced
3 garlic cloves minced
1/4 cup minced fresh basil
olive oil

Alfredo Sauce:
1 tablespoon unsalted butter
2 teaspoons flour
3/4 cup whole milk
1/4 cup half & half
2 garlic cloves peeled and crushed
1 cup grated parmesan cheese

1/2 pound farfalle or other short cut pasta

  1. Bring a large pot of water to boil for the pasta.
  2. Start the tomato sauce. bring a large pot of water to boil. score the bottom of the tomatoes, blanch in the boiling water for about a minute, cool and peel. discard skins. roughly chop tomatoes and set aside.
  3. In a small saucepan, sweat the minced onion and garlic in about a tablespoon of olive oil over medium low heat for about 5 minutes, until soft.
  4. Add the tomatoes to the onion and garlic. if you want a thin sauce like mine, blend the sauce with an immersion blender. cook about 15 minutes until thickened.
  5. While the tomato sauce thickens, add the pasta to the boiling water and cook according to the package directions.
  6. While the pasta and tomato sauce are cooking, make the alfredo sauce. melt the butter in a saucepan over medium heat. whisk in the flour until smooth and cook about 2 minutes, until brown.
  7. Whisk in the milk, half & half, and garlic and season with salt & pepper. continuously whisking, bring to a simmer and cook about 2 minutes until thickened. fish out the garlic with a slotted spoon and discard.
  8. Whisk in the parmesan. the sauce will be very thick, so add 1/3 cup of the hot pasta cooking water to the alfredo sauce to thin it out a bit. remove from heat.

  1. Drain the pasta and add to the alfredo sauce.
  2. Mix the basil into the tomato sauce and add the tomato sauce to the pasta. mix well.

I should mention that I did NOT make my own tomato sauce - we didn't have enough tomatoes and who am I kidding? I never cook... when I do, it probably won't be to make tomato sauce from scratch! It was delicious though, and definitely did a wonder on my funky mood. A bowl (and a little more) of this later and I was feeling much better about the state of the world. 


Is there anything a warm bowl of pasta won't fix?

Friday, June 1, 2012

Magic Chicken

Zac and I have been eating like we go to fancy restaurants every night recently, and it's awesome. You know Zac loves to cook, but we were in a rut where he was tired of making all the same things. I was happy to do my small part and find some new recipes so that our menu was a bit more exciting.

Enter this magic chicken stuff. It probably has a real name, but this stuff is magic. It's quick to prepare, it uses ingredients you probably have at home, and you truly could make this for company. And it's delicious.

Want to make it for dinner tonight? You can!

Chicken Asparagus Roll-Ups
Recipe from Allrecipes.com, found via Pinterest


  • 1/2 cup mayonnaise
  • 3 tablespoons Dijon mustard
  • 1 lemon, juiced and zested
  • 2 teaspoons dried tarragon
  • 1 teaspoon ground black pepper
  • 1/2 teaspoon salt
  • 16 spears fresh asparagus, trimmed
  • 4 skinless, boneless chicken breast halves
  • 4 slices provolone cheese
  • 1 cup panko bread crumbs


  1. Preheat oven to 475 degrees F (245 degrees C). Grease a baking dish. In a bowl, mix together the mayonnaise, Dijon mustard, lemon juice, lemon zest, tarragon, salt, and pepper until the mixture is well combined. Set aside.
  2. Cook asparagus in the microwave on High until bright green and just tender, 1 to 1 1/2 minutes. Set the asparagus spears aside. Place a chicken breast between two sheets of heavy plastic (resealable freezer bags work well) on a solid, level surface. Firmly pound the chicken breast with the smooth side of a meat mallet to a thickness of about 1/4 inch. Repeat with the rest of the chicken breasts.
  3. Place 1 slice of provolone on each chicken breast, and top the cheese with 4 asparagus spears per breast. Roll the chicken breasts around the asparagus and cheese, making a tidy package, and place, seam sides down, in the prepared baking dish. With a pastry brush, apply a coating of the mayonnaise mixture to each chicken breast, and sprinkle each with panko crumbs, pressing the crumbs into the chicken to make a coating.


  1. Bake in the preheated oven until the crumbs are browned and the chicken juices run clear, about 25 minutes.

Remember, Zac is fancy, so he made a few edits. He substituted fresh thyme from our garden for the tarragon. We also put some of the sauce inside the roll-ups between the cheese and the asparagus. YUM.


Zac said it tasted like "if chicken they serve you at banquets was actually good."  It was super yummy.


And this is how my dinner is plated every single night. Those nights I spent home alone while he was working late restaurant hours were worth it.


It was super yummy with couscous. I hope you make it and love it too!


The one thing that's different from when Zac was working in a restaurant? His sous chef. The one we have now is a little bit furrier...


We like to "do Derby's voice" and say what we think he would say in a funny voice. Can you see it here? He's probably saying/thinking: "Hey Mom! I got you this potholder and brought it into the living room in case you need it in here because that's how much I love you and I just want to help and can I have some chicken if you don't eat it all because it's 7:02 PM right now and you were supposed to get me dinner at 7:00 PM but don't worry you're still my favorite person in the entire world."

Wednesday, April 4, 2012

White Chocolate Chip Oatmeal Heaven

Three of my best friends came over last weekend for a girls night. We became friends when I moved to Cincinnati. We started getting together for happy hour, but soon realized that limited our fun in a few ways. First, you can only stay so long at a restaurant table before the staff gets cranky. Second, you can only eat and drink so much when you aren't wearing sweatpants before you become uncomfortable. Finally, you can only drink so much wine before it becomes expensive. #2 and #3 were our biggest concern.


It was my turn to host this time, and Zac was in Lexington for the Final Four game. That meant I had to do all of the food preparing myself! Let me emphasize that though I don't cook, it doesn't mean I can't cook! When my feet are to the fire I can pull out a few tasty dishes.


I turned to trusty Pinterest for a few new options. First, some brie bites.


                                                 Baked Brie Bites. So easy! Preheat oven to 350. Place a cube of brie in each phyllo tart. Top with 1/2 tsp brown sugar, chopped pecans, honey. Bake until brie is melted.
Image from Pinterest.

They were so easy - buy some phillo dough cups, put a cube of brie in them, add some honey and/or brown sugar. Put in the oven until they melt. Eat fifteen because they are so delicious. Make fifteen more and eat them too. Wish you had more. You know, the usual.

I also wanted to try a recipe for White Chocolate Chip Oatmeal Cookies, AKA Heaven. They looked so good on Pinterest and they didn't disappoint in real life.

I'm trying to get better with my photography. I'm not there yet, but know that I'm trying.

They were so delicious. I've never smushed down my cookie balls before, but it was a great idea. The cookies came out nice and flat and big. Can you spot the secret ingredient in the picture below?


Yeah, it's sea salt. And it's oh so delicious.

Crispy Salted Oatmeal White Chocolate Cookies via Whisk Kid via Smitten Kitchen who adapted it from Cook's Illustrated

Printable Recipe

1 c  flour
3/4 tsp baking powder
1/2 tsp baking soda
1/4 tsp salt
14 Tbsp butter, softened
1 c  sugar
1/4 c  packed light brown sugar
1 egg
1 tsp vanilla
2 1/2 c  old-fashioned rolled oats
6 oz good-quality white chocolate bar, chopped (I used high quality white chocolate chips so they didn't taste waxy, and they were delish)
1/2 tsp flaky sea salt (like Maldon or fleur de sel), for sprinkling

Preheat your oven to 350F. Line two baking sheets with parchment paper and set aside.

Combine the flour, baking powder, baking soda, and salt in a medium bowl and set aside.

In a large bowl, beat the butter and sugars until light and fluffy, about 5 minutes. Scrape down the sides of the bowl, then add egg and vanilla and beat until incorporated, about 3 minutes. Scrape down the bowl again and add half of the flour mixture. Mix to combine, scrape down bowl, and add remaining half. Mix until just incorporated, then add the oats and chocolate and mix until evenly distributed. 

Using a 2 Tbsp scoop, portion the dough into as many balls as you can. Roll into a sphere shape between your palms and place on lined sheets about 2 1/2" apart. Gently press each ball into a 3/4" thickness and sprinkle with a few flakes of salt. Bake until cookies are golden brown, 13 to 16 minutes, rotating pan halfway through. Transfer sheet to a cooling rack and allow to cool 

Ooh! That picture looks pretty good!

The recipe makes about 60 cookies if you don't eat a lot of dough, so be prepared to give most of them away if you want to avoid gaining 10 pounds in one weekend. Because you can not stop eating these. They are that good.

Case and point. YUM.

Enjoy!


Tuesday, March 27, 2012

The Most Delicious Mac & Cheese

Anytime I need a new recipe, I tend to go to Stephanie's blog Macaroni and Cheesecake and do a search there. She tries out so many wonderful recipes, and we must have similar tastes, because I always agree with her feedback. And our blogs were designed by the same person, so in blog life we're identical twins. Our little girls at the top look like sisters!

Last Friday, Zac and I were watching the news and they were covering a local fish fry... which of course, immediately had us craving macaroni and cheese. We've made decent mac and cheese from scratch in the past, but I remembered seeing a new recipe on Stephanie's blog recently and thought we'd try that one. Stephanie is on a quest to find the world's creamiest mac & cheese, and I'm happy to join her on that journey.

Side note / gluten update: It seems like I still feel okay if I cut way back on gluten. Right now I'm eating it one or two times a week and not having any side effects. Except for the one week where I sort of kept doing that a lot of times and then I didn't feel so hot. So - mac and cheese with no more gluten throughout the week is okay. Mac and cheese every day is not okay - for many, many reasons.


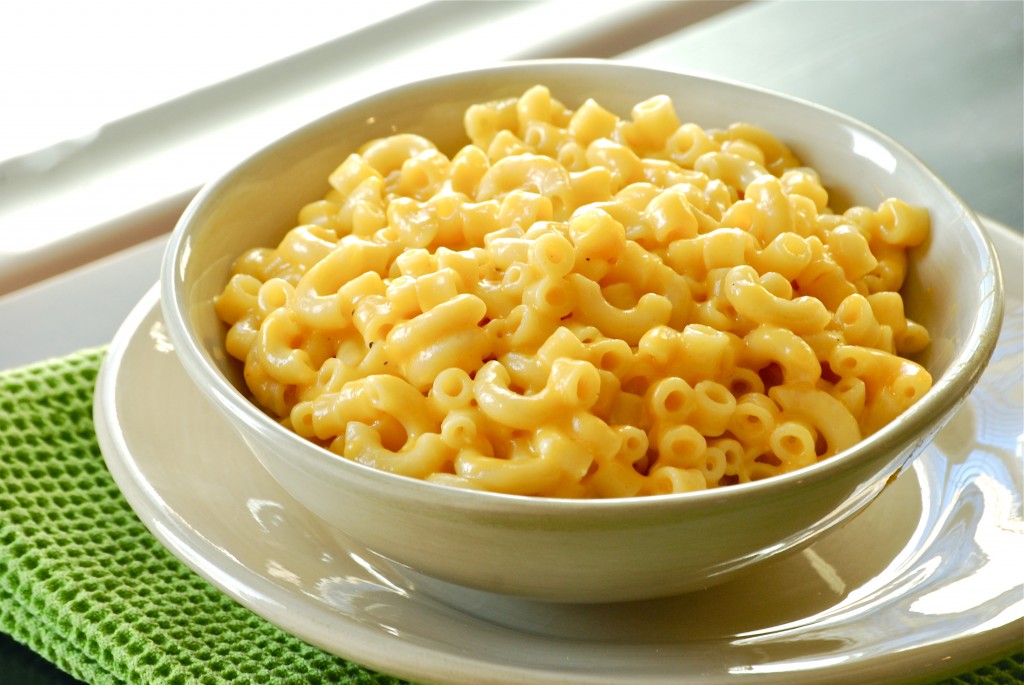
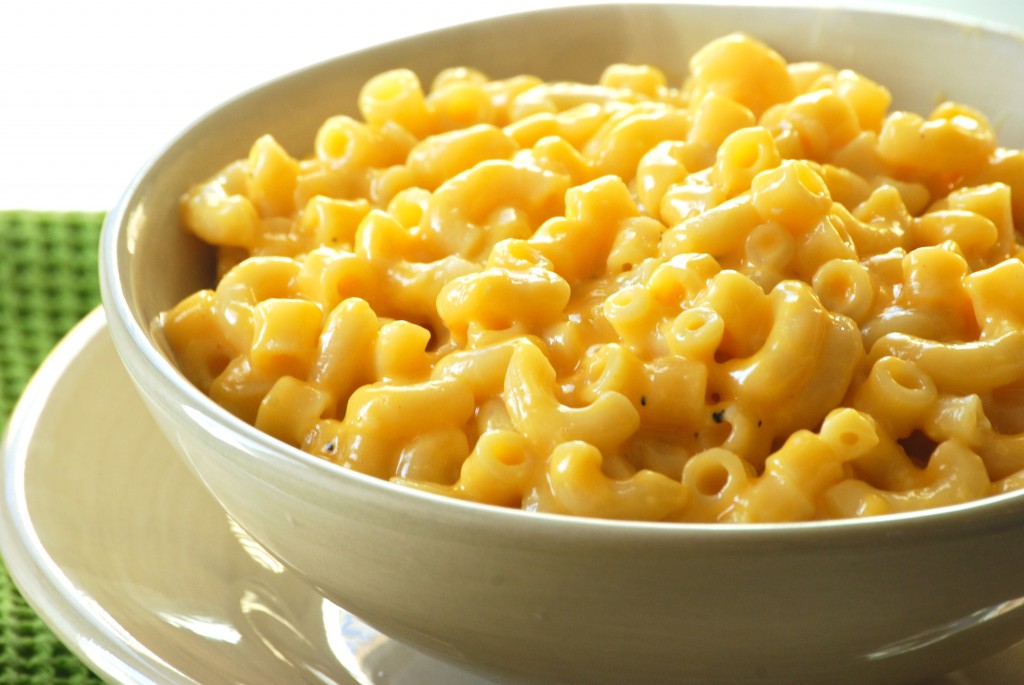
I couldn't eat this gloriousness without sharing it with you. I mean, look at it!


Ours looked that good too. Actually, ours was a little bit creamier because I splashed a bit more evaporated milk than it called for (per Stephanie's feedback). And it was DE-LISH.

Alton Brown’s Stove Top Macaroni & Cheese
Source: Alton Brown, Food Network via Macaroni & Cheesecake
Ingredients:
1/2 pound elbow macaroni 
4 tbsp. butter
2 eggs
6 oz. evaporated milk (fat free is fine)
1/8 tsp. ground cayenne pepper
1 tsp. kosher salt, plus more for boiling
freshly ground black pepper
1/4 tsp. ground dry mustard
10 oz. shredded sharp cheddar cheese
Directions:
Bring a large pot of water to boil.   Add a sprinkling of salt, then boil your noodles according to package directions.  Once al dente, drain the pasta and return it to the pot.  Add the butter and stir until butter has melted.
Meanwhile, in a separate small bowl, whisk together the eggs, evaporated milk, cayenne, 1 tsp. salt, pepper and mustard.  Once the noodles are cooked, drained and the butter has melted, stir the milk mixture into the noodles until incorporated.  Add in the cheese and stir over low heat until cheese has melted, approximately 3 minutes.  Serve immediately.
It makes a ton of mac and cheese. It would be more than enough for a family of four, especially if you ate it as a side dish. It heats up okay... not great. I think homemade mac and cheese is always a bit gritty when you heat it up the next day. This is about the same as all others when it comes to leftovers.
Yeah, it's yummy. Go make it immediately.


Friday, January 13, 2012

Breakfast + Pizza = Delicious

I have always been a fan of breakfast pizza. I honestly can't remember when I had it for the first time, but I love breakfast, and I love pizza, and I love breakfast pizza.

Last night we were trying to decide what to have for dinner, and we were struggling to come up with something. It was one of those nights where we were missing one key ingredient from everything we could think of, nothing really sounded good, and it was cold and snowy, making going to the grocery store impossible.

I headed to my Pinterest "Eat It" board for inspiration, and that's when I saw it. Breakfast pizza.


We (who am I kidding? Zac) had already made something else from this blog, and it was awesome. Breakfast pizza for dinner it was.

And it was delicious. And then some. I love Stephanie's blog, Macaroni and Cheesecake, and I think you will too, if you visit. She has some really awesome recipes to steal.

If you want to make your own breakfast pizza, here's the recipe:


Breakfast Pizza
Ingredients:
Your favorite pizza crust - we used a Betty Crocker Pizza Crust mix, and it was awesome. Tasted homemade. Don't judge. It was a weeknight.
1/4-1/2 cup part skim ricotta cheese (enough to spread a thin layer over the crust)
6 eggs
1/4 cup milk
salt & pepper to taste
1/4-1/2 cup shredded 2 % monterrey jack cheese (We used cheddar).
1/8 -1/4 cup bacon crumbles
Directions:
Spray a large skillet with cooking spray. In a small bowl, add eggs, milk, salt & pepper to taste. Whisk together to break up eggs. Pour egg mixture in skillet and scramble eggs. Once scrambled, allow to cool about 5 minutes.
Preheat oven to 425 degrees.
Spray a round baking sheet with cooking spray and spread your pizza dough out into a circle about 12 inches or so. Spray dough with cooking spray and spread a thin layer of ricotta, leaving about an inch of dough on the outer edge.
Top with scrambled eggs, bacon crumbles, & shredded cheese.
Bake for approximately 13 minutes, or until crust is golden brown.

Stephanie, thanks for providing our dinner inspiration last night, and for letting me steal your recipe. Everyone else, check out her blog for more delicious inspiration!

You might also like...

Related Posts Plugin for WordPress, Blogger...