Showing posts with label gifts. Show all posts

Wednesday, September 5, 2012

Steals, Deals, and Emails

I love a good deal.... which means that I receive  a lot of emails every day advertising various "one day deals." I think this trend started with Groupon, but now it's totally out of control.

That being said, I've snagged a lot of wonderful things through these deals, and thought you might want to know about a few of these. Hopefully you'll know of things I haven't found yet, as well! I'm starting with the ones I LOVE....

Pick Your Plum

I LOVE this site. I have ordered quite a few items from here and am always ultra impressed with the quality.  This is well worth the daily email, but beware that items often sell out quickly!


GroopDealz

This is my new FAVORITE -- all "boutique" deals. Everything is super cute and really affordable. I actually have a hard time controlling myself with this site, so be warned! If you're only going to sign up for one deal email, this is the one I would do.


Zulily

Zulily is cute baby, kid, and maternity stuff. I signed up because I can often find great baby gifts for friends - I'm not ordering anything for myself quite yet! Their stuff is flat out adorable. If you're a mom, this one is a must see.


This is my very favorite new site - I want literally everything on it, and I think their prices are really good. I'm generally not impressed if things cost more than $20, and these prices seem like a total STEAL.


Another site with a lot of kid stuff, this is supposedly "for moms, by moms." They have a lot of grown-up stuff too, which is why I subscribe. They have national deals, which are usually pretty good, and also deals localized to your city.  I don't order things often from here, but I have snagged a few good deals.
Groupon

I still get Groupon emails, and I also get the "Groupon Goods" and the "Getaways." Verdict? I bought tons of Groupons when it first started. I bought my first one in 2012 just a few days ago (cheese making class for two for $19? Yes, please!).


We've never bought a getaway or a good, but I know people who have. Just waiting on the right one I guess.


Bottom line - it's quite a few emails, but I think it's worth it. I can open them quickly, scan for anything good, and then delete if I don't find anything, which is what I do more often than not. That being said, I have snagged some DEALS and am generally looking for things for people I will need gifts for in the near future.

Are there any really great deal sites I'm missing? I am always especially interested in the "cute stuff" sites!

Please know that I wasn't compensated at all for this post, but I did include referral codes for sites if any apply. These are my honest opinions.

Monday, July 9, 2012

A very crocheted blanket

A few months ago, I was bitten by the crocheting bug. I don't know why, but all of a sudden I just wanted to crochet things. It coincided with the end of school, so it could have been that I wasn't multi-tasking all the time at home so I needed something else to do!

I love crocheting for so many reasons. It's easy, it's fast, and it gives me something to do with my hands while we're just hanging out talking or watching tv. It also makes the time we spend watching a movie or a tv show feel productive, and you know I love to feel productive!

I saw some sweet baby yarn on sale at JoAnn's and bought enough to try this pattern, found on Pinterest, of course. I used Sensations Baby Cuddle yarn.  I loved everything about the yarn except the color selection. I used one skein of each color, and had a little bit left over to make some coordinating baby hats. 


I started crocheting the first week of May. I did it mostly in the evenings after dinner when Zac and I were spending time together. I also took it with me on a girl's night and got a few rows finished while we were gabbing!

In progress

I finished it about four weeks later. I'm not sure exactly how many hours it took, but it never felt long or overwhelming. In fact, it really came together quickly.


The pattern uses an alternating single crochet and double crochet stitch. It's crazy easy. I consider myself an intermediate crocheter, but you could easily tackle this as your very first project. 


The only change I made was to use five colors instead of six (because I couldn't find a sixth that coordinated). On the pattern, I used pink twice (as D and F). 


The blanket feels like it comes together quickly because you can finish a color strip in one sitting. When you finish a section you feel like you're making progress!


The stitch is so pretty and makes the blanket feel heavy yet stretchy. It's the perfect size and weight for a toddler to drag around as a security blanket.


I love the double border - it makes the blanket feel so much more "finished" than others I've seen. 

I'm in love with the whole thing. It doesn't belong to a specific baby yet -- I need a baby girl to be born who I love enough to part with it! I'm working on a boy version next, though admittedly much slower since temperatures have been in the triple digits here lately. 

If you've ever thought about crocheting but haven't known where to start, start here! I promise you won't regret it. If you have any other good crocheting projects to share, let me know. I'm not sure what I'll tackle next!

Click HERE to see the blog parties where I'm linking!

Monday, June 4, 2012

A present for me

We went to Target this weekend because Zac wanted a new polo shirt. He is insanely picky when it comes to clothes (and most things. But in a good way?) and he loves these - so he now owns eight of them.

Anyway, I digress. While we were there, I picked out a fun new nail polish color (stone grey - so trendy) and also came across this beautiful thing:


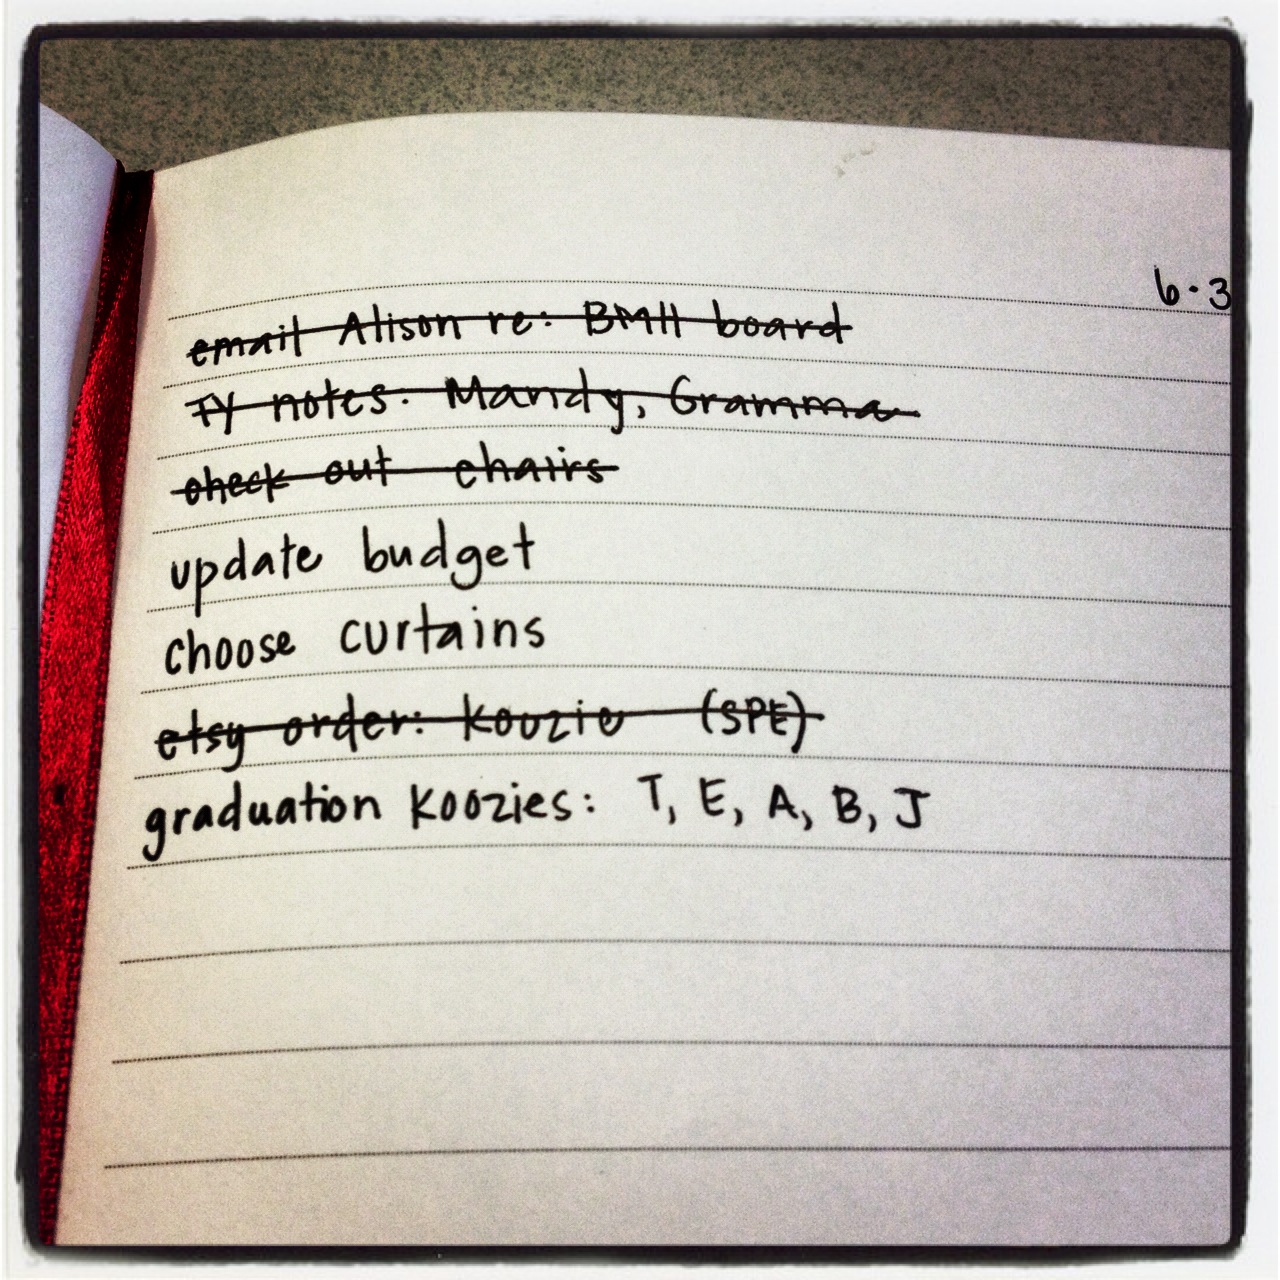
It's a notebook. The most beautiful notebook I had ever seen and it was like I immediately knew I'd been missing it for my whole life. And if you know me well, you'll know that I'm (sadly) not exaggerating here.

I've been on the lookout for a notebook that could be my everything. It's separate from my calendar, but where I can keep everything important in once place. Lists, meeting notes, ideas, etc. And this baby might just be it.


It's not moleskin, but it has a similar look. The cover is a really thick cardboard, but it seems pretty sturdy. The pages lie flat for it being so thick.


All the pages are blank and lined. My big dilemma was whether I wanted to divide it into sections for various things (home, work, blog, etc.), but ultimately I decided I'll just go chronologically and see how that goes.


Do you have a notebook or system like this? How do you use it? Is there something awesome that I'm missing that would be awesome? 

And yes, I'm that kid who was beyond excited to go school suppy shopping each fall. But if you read this blog and we're at least online friends, I'm pretty sure you were too!

Tuesday, May 15, 2012

A special Mother's Day (or any day) gift

It's hard to find a gift for my mother. She's one of those women who has a little bit of everything. She's always grateful and loves everything we give her, but I want our gifts to be special.

This year, we went simple. I purchased a pretty glass jar and asked my sisters to send me lists of reasons why they love our mom, things they were grateful for, etc. We all hand wrote them so that she'd recognize our handwriting. Even Zac added a few!


Some were sweet, some where funny. My mom isn't an overly sentimental person, so I wasn't sure what she was going to think!


When she opened it, she liked it. She read a few (shout out to Zac to writing the ones that cased the most "awwws!"), and then set it aside. Later, she got home and read them all...


And that's when my not very sentimental mom declared it to be the best gift ever. She loved them all, re-rolled them, and put the whole jar smack on her mantle. V-I-C-T-O-R-Y is mine! We wanted to do it for Zac's mom too, but his brother and sister-in-law are still travelling and we wanted to wait until everyone could participate.

Want to make your own? Buy a pretty jar, write things you love, cut them into strips, and roll them all pretty around a pen. Perfect for any birthday, anniversary, mother's day, father's day, graduation, or other fun day!

Did you give or receive any special Mother's Day gifts? It's not too early for me to start planning for next year...

Click HERE to see the blog parties where I'm linking!

Monday, February 20, 2012

A Sweet Baby Boy Quilt for a Sweet Baby Boy

When my friend Claire told me she was pregnant last summer, I was so excited! Claire and I met in college - actually, before the very first day of my freshman year. She's the reason I joined my sorority (she promised me cake. What can I say? I'm weak!), and we spent the next four years being inseparable. It turned out that our parents live about two miles from each other, and we helped each other get ready (in different years) for our first dates with our husbands. 


Claire and Brian found out they were having a boy in August, and I got sewing. I took this quilt with me to my gramma's house to quilt on the long arm, and it was the last one we did. Which means we did this one by generator during Hurricane Irene. Not sure it's my finest work, but Claire and sweet little Charlie seem to like it!


This quilt came from the same book as the animal quilt I made, and it's definitely worth the purchase. It's a great book. You can find it on Amazon here. You could get it from a library, but the templates are really big - I mean, really big - so copying them would be tough. This quilt for Charlie is one of the reasons I bought the book, and I was excited to finally get to make it!


I think the semi truck is my favorite part! I had a hard time finding fabric for the back, but once I saw this, I was sold. I love the road signs and the bright colors!


The sweet mama-to-be sure seemed to like it!


Charlie came almost a whole month early, so good thing this quilt was ready. The sweetest part of the whole thing? Seeing that darling little boy enjoying his quilt!

Nothing like cute baby pictures to make Monday feel a little less like Monday. Click HERE to see the blog parties where I'm linking!

Monday, February 13, 2012

Gift for a Photographer

Our wonderful wedding photographer has become a friend of ours. When I found out she was having a baby, I knew I wanted to make her something fun. And, as always, Pinterest came to the rescue!

This image links back to a search on Etsy, and I can't find its original owner. Sorry about that. This is the best I can do.  Here's the inspiration I found on Pinterest:


Isn't it fun? Rachel's baby is a boy, so obviously hers looks a little different. But, Rachel might also someday have a girl, so I didn't want to make it too boyish. You've already seen the camera tag blanket as part of my Tag Blanket Tutorial, but there's more! Here's my version:


I loved it once I made it, but I thought it needed something else, too. Hence, another tag blanket!


Here's a close up so you can see it better:


I love it! If you're interested in making your own set, here's the tutorials you'll need. You can make it with literally any shape (as evidenced by my peace sign onesie set).


Click HERE to see the blog parties where I'm linking!

Monday, January 30, 2012

Peace

I have a lot of cousins - and a lot of them have been having babies recently! My cousin Kristen is next in line, and she's having a baby girl next month. I wanted to send her a gift before things got too crazy, so I went with one of my favorite baby projects.

The peace sign is close to my family's heart. The PEACE OUTside Campus Foundation was founded in honor of my cousin Lindsey, and I wanted to make something for the new baby that would embody Lindsey's spirit.


I used a clip art shape to create the peace sign, and followed the steps I outlined here in the applique tote bag tutorial. I just love the funky stripe fabric for this sweet onesie!

And note to self - taking decent pictures before mailing gifts. Sorry for the iPhone versions.

Because this precious baby is a girl, I couldn't resist a finishing touch on the back...


Are the butt ruffles not to die for?? I made them before I got my new serger (which I still don't know how to use) so I just zig zagged the edges. I did use my new ruffling foot to make them, though. As a helpful hint, jelly roll strips are the perfect width for making these sweet ruffles, and they're extra great because the strips are so long.

I used this tutorial to learn how to make the ruffles, but it's pretty easy.


This little tag blanket is one of my favorites. I just love all of the bright, crazy colors. Perfect for little baby chomping on!

This has become my go-to baby gift because you can personalize it so easily, it's fun to make, and people seem to love them! 

Oh - and I had a little help.


What baby gifts are you giving to people that are a huge hit? Peace out!

Click HERE to see the blog parties where I'm linking!

Monday, January 23, 2012

Tag Blanket Tutorial

Thanks for all your kind words about the tag blankets I made for my cousins! This is becoming my go-to baby gift... they're fun to make, they're a unique gift, and they go together pretty quickly.

The tag blanket I made using this tutorial is for my wedding photographer, who has become a friend of ours. Her first baby is due this spring, and how perfect is this for the son of a photographer??


I promise this is a simple project - and it's also very forgiving. If your squares aren't exactly the same size, it won't matter! You're basically making a pillow, and then turning it inside out.


To start with, cut two squares out of any material. I like to use a soft minky fabric on the back to make it snuggly and add another texture. If you want to embroider or applique on one (or both) of the sides, now is the time to do it!

You can use any size squares. I generally use somewhere between 8" and 10", depending on the size of my fabrics. Any bigger than that and they'll be too large for a small baby to hold.


Next, cut your ribbons. You can use as many different colors as you want. I tend to alternate three. Three ribbons on each edge fit nicely without being too tight.

To achieve varied lengths, cut half the ribbons 4" long, and half 6" long. 


Fold your ribbons in half, and then pin them to the right side of one of your fabrics. Do this on all four sides.


Head to your sewing machine. Set your stitch slightly less than 1/4" from the edge so that the stitches will be hidden later. You can use any color thread here -- you'll never see it. Sew over the ribbon, then backstitch the entire ribbon. Sew over it one more time.

Ultimately, each ribbon will be sewn over 5 times, eliminating the potential choking hazard. Unless, of course, you let your baby play with the tag blanket and a seam ripper at the same time.


This is what they'll look like when you're finished.


Sewing the ribbons on all at once makes it easier to put the whole blanket together. Now's the time to cut any threads.

Put your squares together, right sides facing. Set your stitch for 1/4" from the edge, and stitch ALMOST all the way around the square. Leave about 2 inches on one side open so you can flip it.


This is what I mean about this project being forgiving. This doesn't matter. Love it.


Turn it inside out -- it's almost finished!


Head back to your sewing machine. Top stitch 1/4" from the edge around the whole square. If you're a really straight stitcher, contrasting thread would look fun. I'm not a super straight stitcher, so I use threads that blend in!

Make sure you fold the part you left open under while you're top stitching and sew it closed.


There you have it! A personalized baby gift that will be loved for a long time.


A closeup view for you.


And the back.

Good luck making many, many tag blankets for the babies in your life! Let me know if you have any questions -- happy sewing!

Click HERE to see the blog parties where I'm linking!

Saturday, January 21, 2012

Tag Blankets!

Two of my cousins (who are sisters) had babies this past fall (three of them, total!). I was way behind on sending baby gifts, but better late than never, right?

I decided to make tag blankets for each of the girls. They're really cute, fun to make, and I wanted to personalize them for each baby.

I made the first two for my cousin Molly's two baby girls -- Reese and Chloe.  Everything is cuter in two's, I think!


I embroidered their names on the minky side, and used cute fabric for the back.


A close up of the embroidery.


My cousin Kate had Cara a few weeks before Molly's twins were born.  How fun to have three girl cousins so close together in age??


This is the back of Cara's. I LOVE this fabric. I bought it as a fat quarter a long time ago, and decided this was a good reason to use it!


I wanted the twin's blankets to coordinate without being identical. Mission accomplished!


One of the best parts about these gifts is that they're lightweight, so they're easy to mail. I just rolled them, tied them with a silk ribbon, and sent them on their way!

I'm putting together a tutorial for next week, so stay tuned!

You might also like...

Related Posts Plugin for WordPress, Blogger...